Product designers
Use a single product image with the object centered, visible, and separated from the background.
You get a proportionally useful blockout for review, packaging concepts, or early design discussion.
Free 3D workflow
Use image to 3d model ai free when you want to turn a clear reference into a usable 3D starting point without installing a full modeling stack.
Before you begin
A few simple choices improve the result more than complicated prompting. Prepare the reference, decide what matters, and keep the first pass focused.
Use a single product image with the object centered, visible, and separated from the background.
You get a proportionally useful blockout for review, packaging concepts, or early design discussion.
Choose a character, prop, or creature reference with a recognizable silhouette and limited visual clutter.
The generated asset gives you a faster base for exploring shape, style, and scene composition.
Start with a well-lit object photo and identify which surfaces need the most attention before generating.
You can inspect the mesh as a concept and decide whether it needs cleanup before fabrication.
Use a familiar object, animal, or architectural form to demonstrate how visual references become spatial models.
Learners can compare the source image with a generated result and discuss detail, scale, and missing sides.
Quick process
The first pass is intentionally straightforward: provide a strong visual cue, describe the important form, then judge the output before refining it.
Upload or provide a clear image of one main subject. A centered view with balanced lighting makes the silhouette easier to interpret.
State what should survive the conversion, such as a rounded body, four legs, a curved handle, or a low-poly visual style. Keep the prompt concrete.
Check the overall proportions, hidden areas, thin features, and underside. Treat the first result as a useful base, not a guaranteed final asset.
If the shape is close, improve the reference or clarify one problem at a time rather than adding a long list of competing instructions.
Choose your route
Different starting points suit different projects. These related guides help you choose the amount of input, access, and explanation you need.
Set expectations
A free image-based workflow is useful, but it cannot recover information that the reference never shows. Knowing the weak spots helps you decide when to retry or change inputs.
One image does not reveal the back, underside, or exact depth of an object, so those areas may be inferred incorrectly.
What to do instead
Use multiple views when the unseen surfaces matter, then compare the output from several angles.
Handles, wires, blades, fingers, and narrow supports can be softened, merged, or omitted when they are small in the source image.
What to do instead
Use a larger, higher-contrast reference and describe the thin feature explicitly.
Busy backgrounds, overlapping objects, reflections, and dramatic shadows can be interpreted as part of the model.
What to do instead
Crop to one subject or use a clean-background reference with a clear silhouette.
Generated geometry may need retopology, smoothing, scale checks, texture work, or print-specific repairs before final use.
What to do instead
Use the result as a blockout and complete technical cleanup in your preferred 3D tool.
See the difference
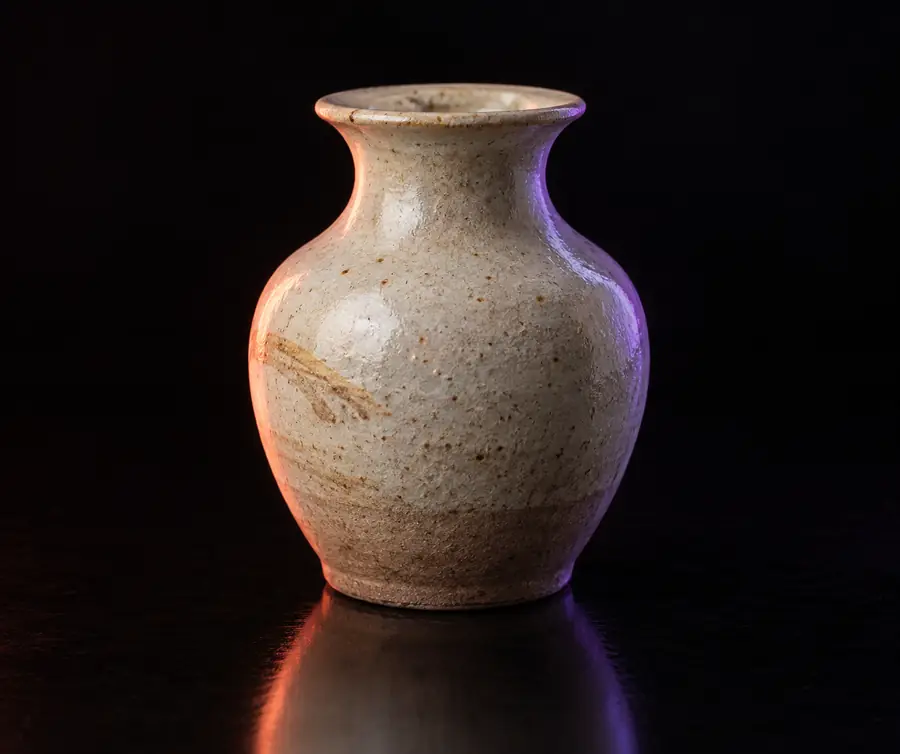
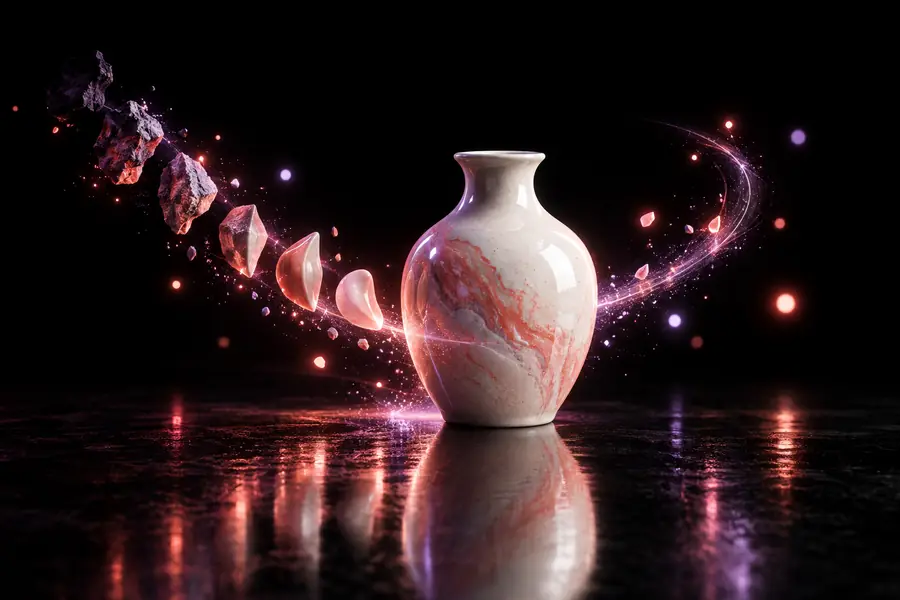
A clear source gives the model a stronger starting point.
Reference image3D starting pointBring a focused image and a clear goal. The workflow is free to start, and the generated result gives you something concrete to inspect, refine, or carry into a larger project.
Common questions
These answers cover the practical questions people usually ask before trying a free image-based 3D workflow.
Yes, the workflow is designed to let you begin without a paid setup. Results can vary by image quality, so a clear reference is the best way to make the free first pass useful.
You can try many subject images, but the strongest results usually come from one clearly visible object with a recognizable silhouette. Crowded scenes, heavy reflections, and very small subjects are harder to interpret.
Use a sharp, well-lit image with the main subject centered and separated from its background. Show as much of the object as possible, and avoid angles that hide the features you care about.
Not necessarily. The output is best treated as a starting model that may need scale checks, watertightness repairs, thicker thin parts, and other print preparation before fabrication.
Yes. Try a cleaner reference, explain the missing feature in concrete terms, or provide additional views when hidden surfaces are important. Change one major variable at a time so you can see what helped.