Product designers
Capture a small product from several sides before exploring form variations.
A more dependable starting mesh for concept review and early visualization.
Multi-view workflow
Multiple images to 3d model workflows combine several views of one subject to create a more complete asset. Upload consistent references, then refine the result for design, games, visualization, or prototyping.
What changes
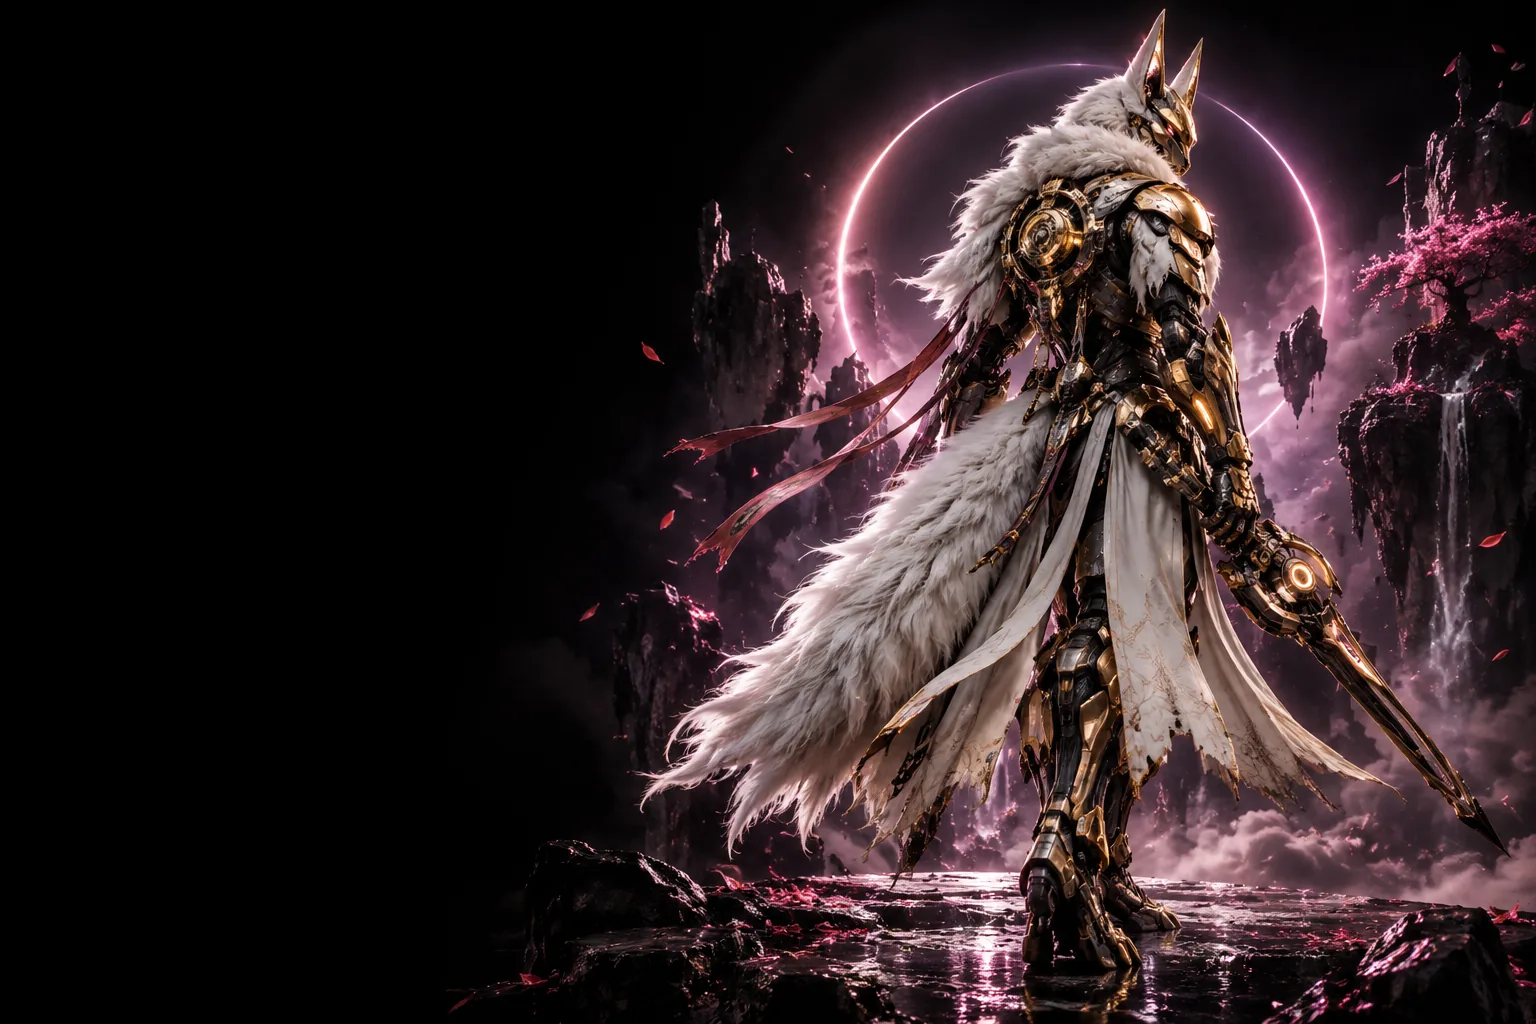
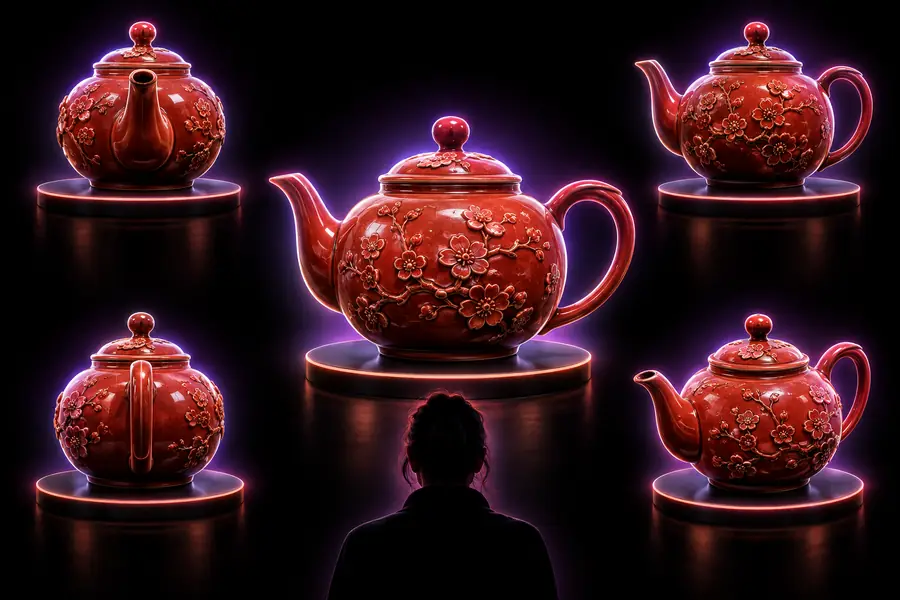
A multi-view workflow uses several images of the same object instead of asking one picture to describe every hidden surface. The added viewpoints help define proportions, depth, and back-facing details.
Single reference
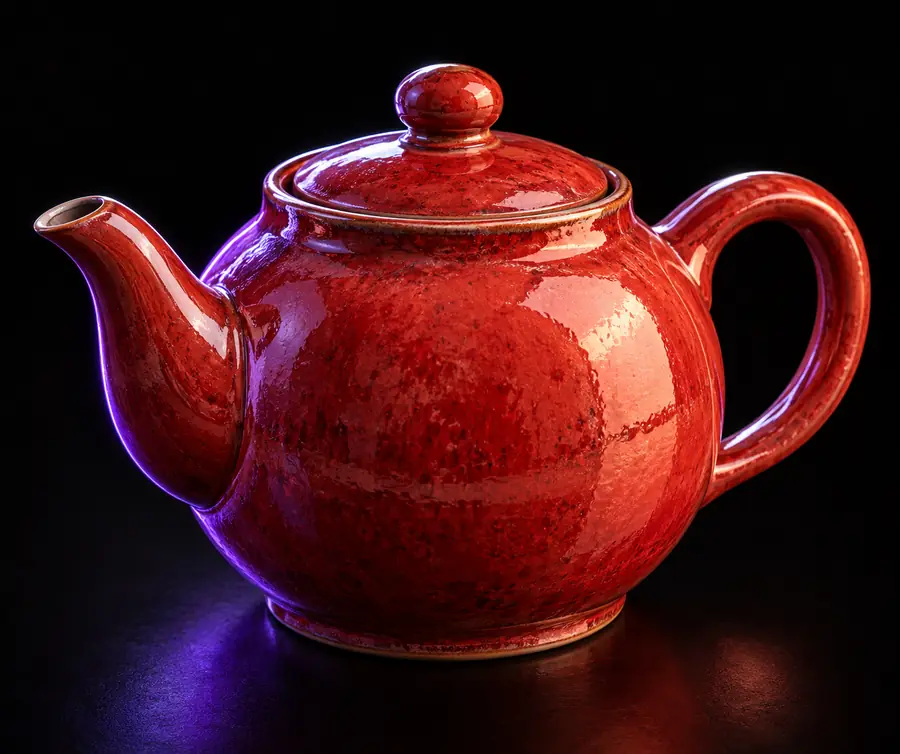
Drag the divider to compare the reference and the developed asset.
Multi-view result
Continue exploring
Choose the input style that matches your source material, then use the workflow that best fits the next stage of your project.
Input comparison
The strongest results come from references that describe the same subject consistently. This table shows how a single view compares with a coordinated image set.
| One image | Several images | |
|---|---|---|
| Visible information | One angle and one silhouette | Front, side, rear, top, or other coordinated angles |
| Hidden surfaces | Mostly inferred from visible evidence | More surfaces can be described directly |
| Proportion control | Dependent on one perspective | Cross-view consistency helps clarify proportions |
| Reference preparation | Fewer files to select and organize | Images should show the same subject at useful angles |
| Best suited for | Simple forms, quick concepts, and clear silhouettes | Products, characters, props, and objects with important rear detail |
| Main risk | Occluded areas may be interpreted incorrectly | Mismatched scale, lighting, or subject position can conflict |
| Review priority | Check the whole silhouette and major planes | Check seams, transitions, repeated features, and view consistency |
Where it helps
Different teams benefit from additional viewpoints for different reasons. Each use case starts with a clear reference set and ends with a model that is easier to inspect or adapt.
Capture a small product from several sides before exploring form variations.
A more dependable starting mesh for concept review and early visualization.
Supply front, side, and rear references for a prop, creature, or character.
A useful blockout for checking silhouette, proportions, and scene placement.
Use a coordinated image set to establish a base before manual cleanup and detailing.
Less guesswork around hidden surfaces and a clearer foundation for editing.
Compare how changing the number and quality of references changes the inferred form.
A visual way to teach viewpoint, silhouette, depth, and reference consistency.
Three-stage method
Keep the subject, camera distance, and lighting as consistent as possible. Then let the generated model become a starting point for inspection rather than a substitute for final review.
Choose several sharp images of the same subject. Include angles that reveal important sides, openings, backs, or repeated details.
Upload the reference set and describe the subject clearly, including its material, proportions, and intended use when those details matter.
Rotate the output, check the silhouette and hidden areas, and correct mismatched geometry before exporting it into the next stage of your workflow.
Reference ideas
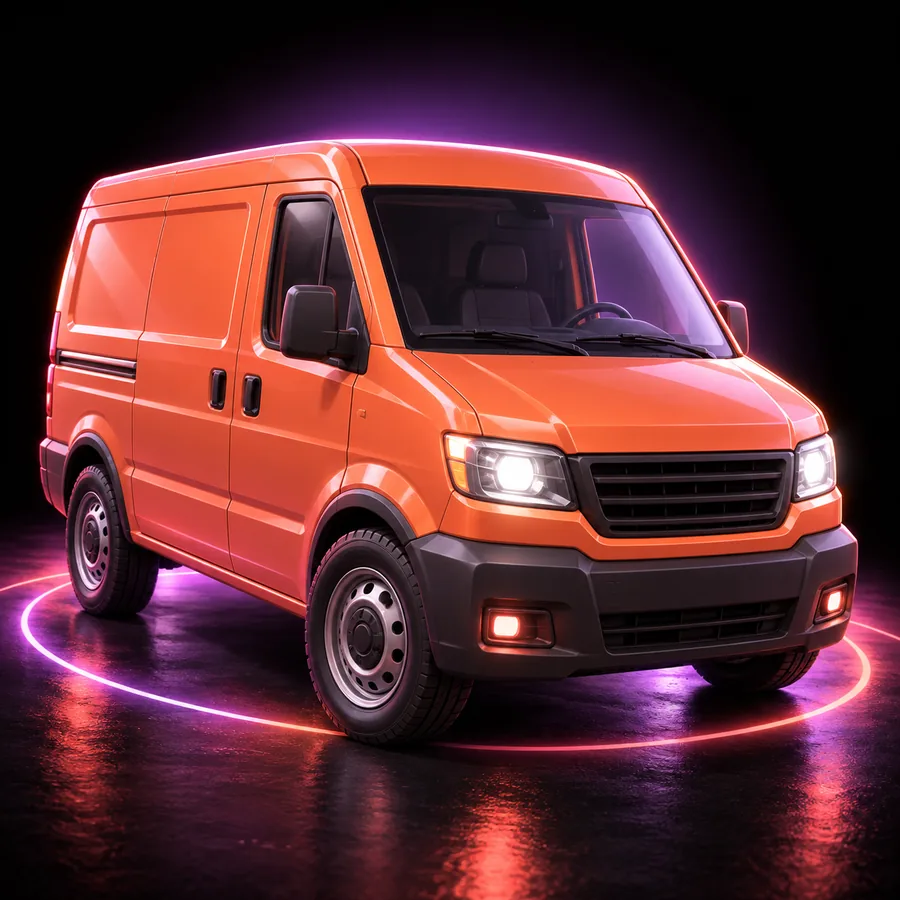
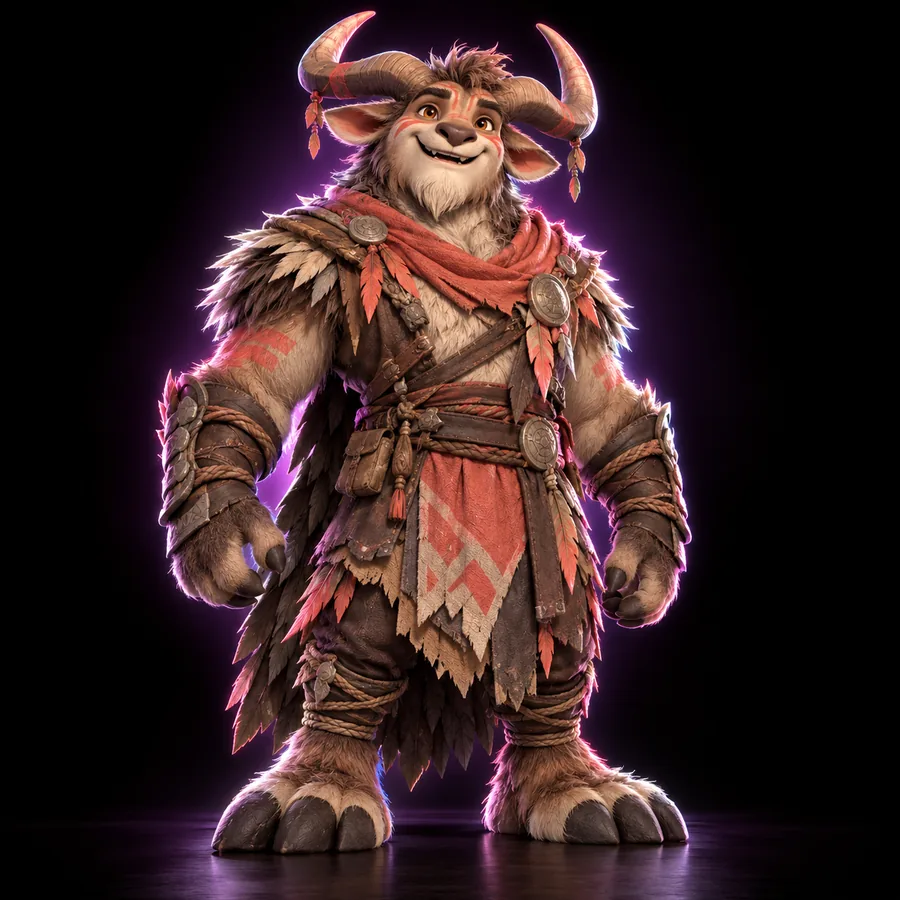
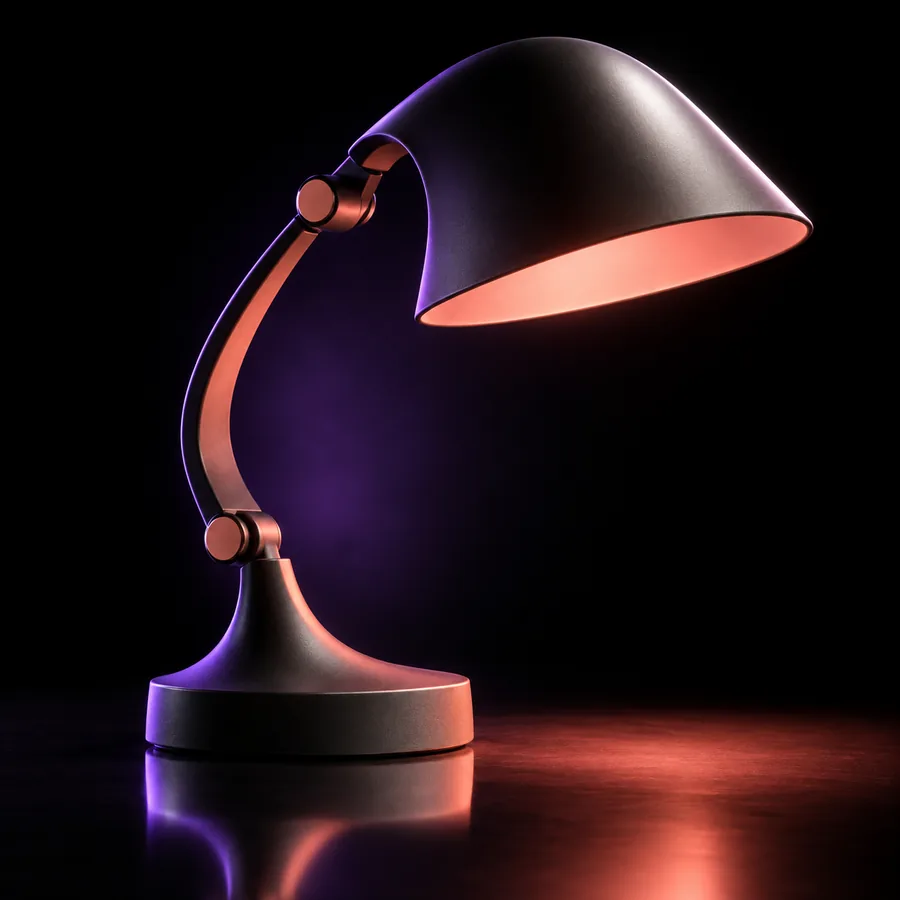
These examples show the kinds of subjects that benefit from multiple viewpoints. Use the input description to plan a reference set before you begin.
 Character
 Product
 Creature
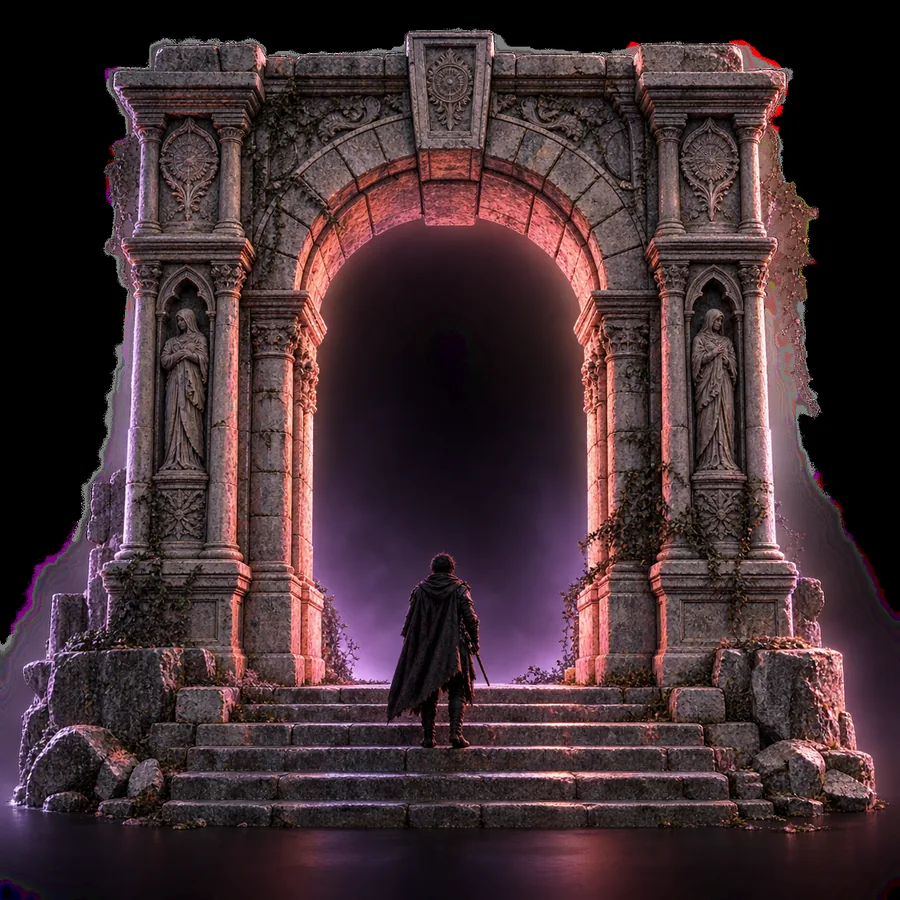 Environment
Start with your views
Bring together the angles that matter most, describe the subject in plain language, and send the brief into the generation workflow. A careful reference set gives the model more evidence and gives you a better basis for review.
Variant FAQ
Answers to common questions about using several reference images for one 3D model.
There is no universal number because the subject and the detail level both matter. Start with clear front, side, and rear views, then add top, bottom, or detail views when those surfaces affect the model.
Yes. The reference images should describe one subject from different angles rather than a collection of similar objects. Mismatched subjects, proportions, or accessories can make the intended structure less clear.
They can provide more visual evidence for surfaces that a single image cannot show. The result still needs inspection because the system may interpret occluded areas, thin parts, or complex intersections incorrectly.
Use sharp images with the subject fully visible, a simple background, and reasonably consistent scale and lighting. Avoid heavy cropping, strong perspective changes, motion blur, and views that hide the features you need modeled.
Usually it is best treated as a starting asset. Rotate and inspect it, check topology and proportions, clean up unwanted geometry, and verify that its format and detail level fit the destination application.