A practical guide to how to use image to 3d model ai free

Turn a clear reference image into a useful 3D starting point with a simple image to 3d model AI workflow. This guide covers preparation, generation, review, and fixes without unnecessary setup.

Free to start · no signup
AI-generated 3D model shown in a bright product scene

Numbered steps

The best results come from matching the image to the intended output before you generate. Choose the path that fits your subject, then keep the first result as a useful draft rather than expecting a finished production asset.

Game developer

You have a character, prop, or creature concept and need a fast blockout for a scene.

Use the first model to test scale, silhouette, camera framing, and visual direction before detailed modeling. See more context in the image to 3d model ai examples online free guide.
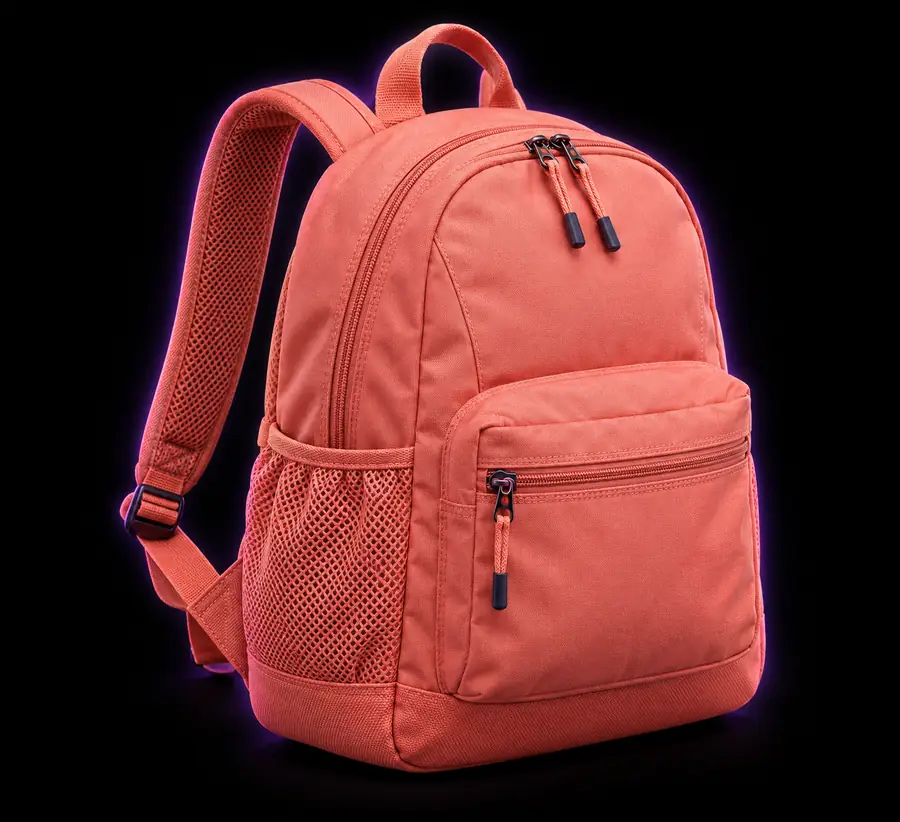
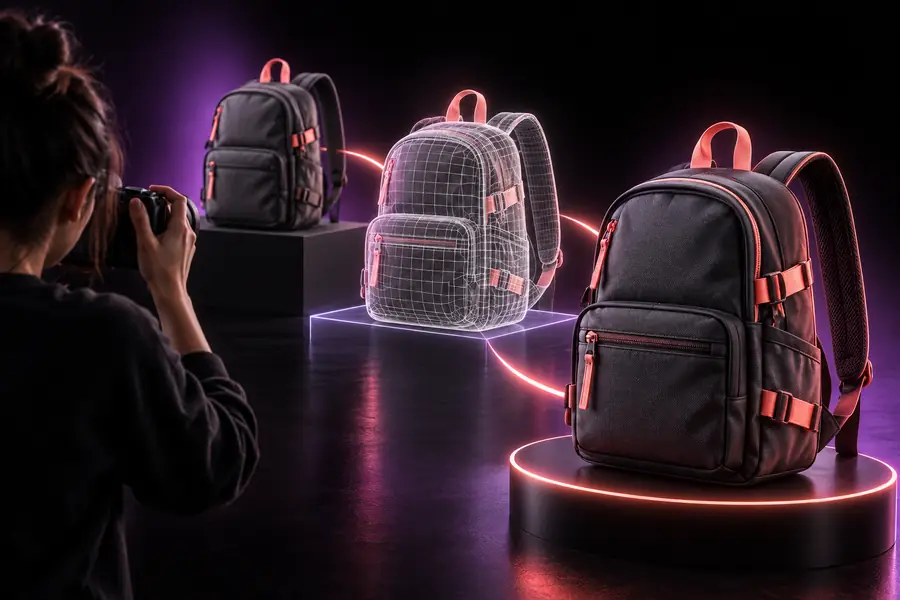
image to 3d model ai examples online free

Product designer

You have a product photo or sketch and want a manipulable object for early presentation work.

A clean reference can produce a useful form study for proportions and presentation. The free image to 3d model ai online workflow explains how to start in a browser.

free image to 3d model ai online

Educator or student

You want to turn a historical object, animal, or classroom illustration into a visual learning aid.

Generate a draft, inspect its recognizable features, and use it to discuss shape, perspective, and 3D structure. The image to 3d model ai free guide covers the basics.

image to 3d model ai free

3D printing hobbyist

You have a simple object image and need an editable starting point for a physical prototype.

Favor clear silhouettes and visible edges, then inspect the underside and thin parts before preparing the mesh for repair or printing.

multiple images to 3d model

Numbered steps

Follow this three-part sequence every time: prepare the input, describe the intended result, and inspect the output before treating it as finished.

  1. 1

    Prepare one strong reference

    Choose a sharp image with the subject large in frame, balanced lighting, and a readable silhouette. Remove distracting background details when possible, and avoid extreme perspective or heavy cropping.

  2. 2

    State the model’s purpose

    Describe the object, its important parts, and the style of geometry you need. Mention a simple product model, game-ready blockout, toy-like figure, or architectural mass instead of using vague wording.

  3. 3

    Review and refine the result

    Rotate the generated asset and check the front, sides, top, underside, thin features, and repeated details. If the shape is wrong, improve the image or prompt and generate another draft rather than editing every defect immediately.

Common errors and fixes

Image to 3d model AI tools infer unseen surfaces, so some errors are normal. Diagnose the input first; changing the source often helps more than adding a longer description.

1

A single image cannot reveal every side

The hidden back, underside, and internal structure are inferred from visual clues. Symmetrical or familiar objects usually fare better than unusual forms with important unseen details.

What to do instead

Use several consistent views when the project depends on accurate coverage; a multiple images to 3d model workflow is better suited to that situation.

2

Thin parts may merge or disappear

Handles, wires, blades, straps, fingers, and narrow supports can be interpreted as noise, especially against a busy background or in a low-resolution image.

What to do instead

Use a larger subject, stronger contrast, and a clean silhouette. Describe the thin feature explicitly, then inspect it closely in the output.

3

Text and logos are unreliable

Small lettering, labels, and repeated symbols may become warped or unreadable because the generator prioritizes overall form over exact typography.

What to do instead

Treat the generated model as a base mesh and add important lettering later in a 3D editor or texture workflow.

4

A draft is not automatically production-ready

The result may need cleanup, retopology, smoothing, UV work, material changes, or structural repair before animation, manufacturing, or final rendering.

What to do instead

Use the model for exploration first. Reserve a separate cleanup pass for topology, scale, watertightness, and the requirements of your final tool.

Advanced tips

Think of the conversion as a controlled interpretation rather than a one-click scan. The before-and-after view helps you judge whether the generated shape preserves the visual information that mattered in the reference.

Reference image prepared for an AI 3D conversion
Reference image
Generated 3D model created from a reference image
3D result

A good result preserves the main silhouette and defining features, even when hidden surfaces require later refinement.

Reference image3D result

Advanced tips

Use this comparison to decide whether a quick single-image draft is enough or whether the project deserves more preparation. Neither route replaces final modeling judgment, but each serves a different stage of work.

Quick single-image draft Reference-ready workflow
Best starting input One sharp image with a clear subject Several consistent views or a carefully prepared primary image
Setup effort Low; useful for immediate exploration Higher; requires consistent framing and image selection
Hidden surfaces Mostly inferred from one view Better supported when multiple sides are visible
Iteration speed Fast for testing ideas and silhouettes Slower to prepare, but more controlled for important assets
Fine details Main shapes are prioritized over tiny features More reference coverage can preserve secondary forms
Typical use Concepts, blockouts, classroom demonstrations Product studies, prototypes, and assets needing closer inspection
Finishing work Usually needs cleanup before final use Still needs cleanup, but may reduce guesswork

Advanced tips

Start with a clean image, describe the object’s purpose, and inspect every visible side of the result. Image to 3d model AI is most useful when it shortens the path from reference to an editable idea, not when it is treated as a substitute for every later modeling task.

Create a better first 3D draft

  • Use a clear subject with a readable silhouette
  • Describe the geometry and intended use
  • Keep the first result as a draft for review
Try the converter

Tutorial FAQ

These answers address the practical questions people ask when learning how to use image to 3d model ai free for the first time.

Use a sharp image where the subject is large, well lit, and separated from the background. A clear silhouette and visible defining features help the model infer shape more reliably than a dark, crowded, or heavily cropped image.

You can try many objects, characters, props, and simple scenes, but results vary with symmetry, hidden surfaces, thin parts, and visual complexity. Treat unusual or highly detailed subjects as drafts that may need manual correction.

The system must infer depth, unseen sides, and structure from limited visual information. Improve the source image, simplify the background, and describe the key silhouette and features more directly before trying again.

Not necessarily. A generated asset may need topology cleanup, scale checks, UV work, material edits, or watertightness repairs depending on the final use. Inspect and prepare it in the appropriate 3D software before production.

Use multiple consistent views when the back, sides, underside, or small structural details matter. A single image is usually better for rapid concept exploration, while additional views can reduce guesswork for more demanding references.

Start creating
Start creating