Indie game creator
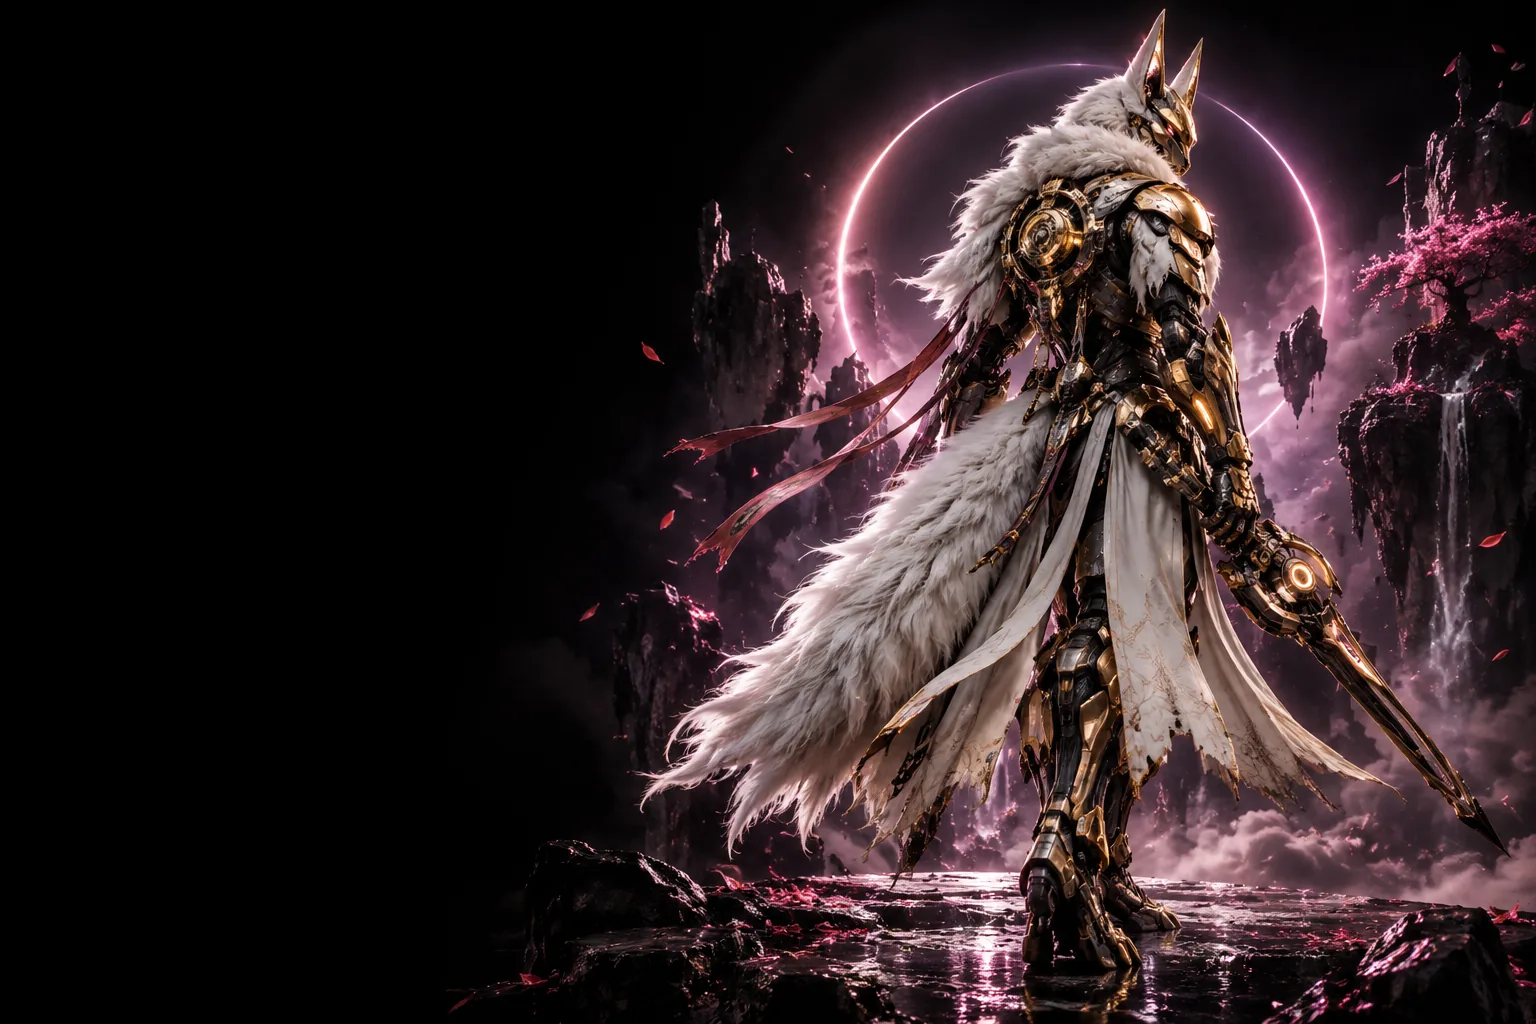
Turn a creature, prop, or costume reference into a rough asset for a blockout scene.
You get a tangible form to judge in composition before spending time on final topology.
Online 3D workspace
This free image to 3d model ai online workflow turns a clear reference image into a workable 3D starting point. Upload a subject, describe the result you want, and review the generated form before refining it.
Know the edges
An online image workflow is excellent for fast visual reconstruction, but it is not a substitute for measured CAD, scanning, or manual topology work.
A single reference hides the back, underside, and internal structure, so the model may make reasonable guesses about unseen areas.
What to do instead
Use a well-lit image with a simple silhouette, then provide extra views when accuracy matters.
The generated result may resemble the subject without matching exact measurements, tolerances, or manufacturing requirements.
What to do instead
Use the output as a concept or blockout, then verify dimensions in a 3D editor or CAD tool.
Glass, chrome, glossy plastic, smoke, and strong reflections can be interpreted as missing or distorted geometry.
What to do instead
Choose a matte reference, reduce glare, and describe the intended material and structure.
The result can contain uneven density, hidden surfaces, or details that are not ready for animation, rigging, or production export.
What to do instead
Inspect the mesh and retopologize, smooth, or simplify it before a final pipeline handoff.
Three simple moves
The workflow keeps the first pass lightweight: provide visual evidence, guide the intended result, and inspect the model before using it elsewhere.
Choose a well-framed image with the subject visible against a calm background. A strong silhouette gives the generator more reliable visual information.
Mention the object, style, material, pose, and any important details that the image alone cannot communicate. Specific guidance improves the first pass.
Check the proportions, hidden surfaces, and small features. Keep the result for ideation, or continue refining it in your preferred 3D workflow.
Continue exploring
Choose the route that matches your input, access needs, or next production step.
Choose the right starting point
This route is designed for fast visual exploration. The comparison below helps set expectations before you send a reference into the workflow.
| Single-image AI workflow | Manual or measured modeling | |
|---|---|---|
| Best starting input | One clear reference image and a short description | Plans, measurements, scans, or several calibrated views |
| Setup time | Low; works from a browser-based starting point | Higher; requires software, setup, and scene preparation |
| Hidden surfaces | Estimated from visible evidence | Built deliberately from measurements or additional views |
| Dimensional accuracy | Useful for visual approximation, not guaranteed precision | Can be controlled when dimensions and references are known |
| Best use | Concepts, mockups, early assets, and visual review | Engineering, manufacturing, final animation, and exact production work |
| Iteration style | Fast prompt-and-review cycles | Slower edits with direct control over every surface |
| Skill requirement | Basic image selection and visual direction | Modeling, CAD, sculpting, or technical mesh skills |
Useful starting points
The same conversion can support very different projects, from early product thinking to classroom visualization.
Turn a creature, prop, or costume reference into a rough asset for a blockout scene.
You get a tangible form to judge in composition before spending time on final topology.
Explore a lamp, chair, package, or handheld object from a sketch-like product image.
A quick volume study makes proportions easier to review with collaborators.
Use a reference photo as the first shape study for a decorative object or prop.
The generated form gives you a visual base to inspect before repairing and preparing a printable mesh.
Convert a historical object, animal, or everyday item into a visual classroom model.
A familiar image becomes an interactive starting point for discussing form, proportion, and design.
See the transformation
The before-and-after view shows the intended role of this route: move from visual reference to a form you can inspect, discuss, and refine.
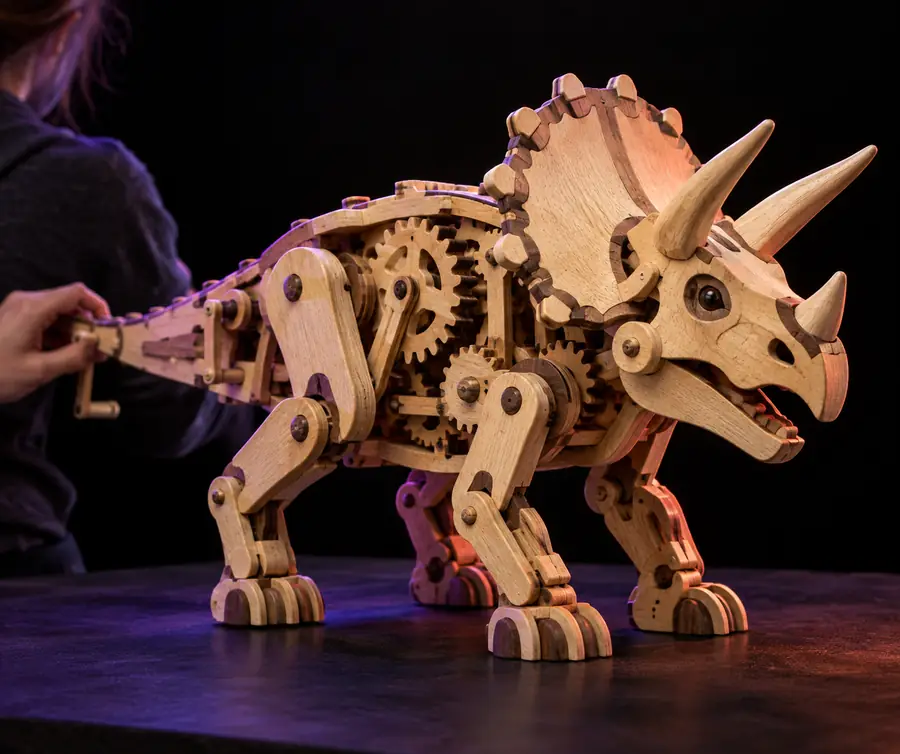
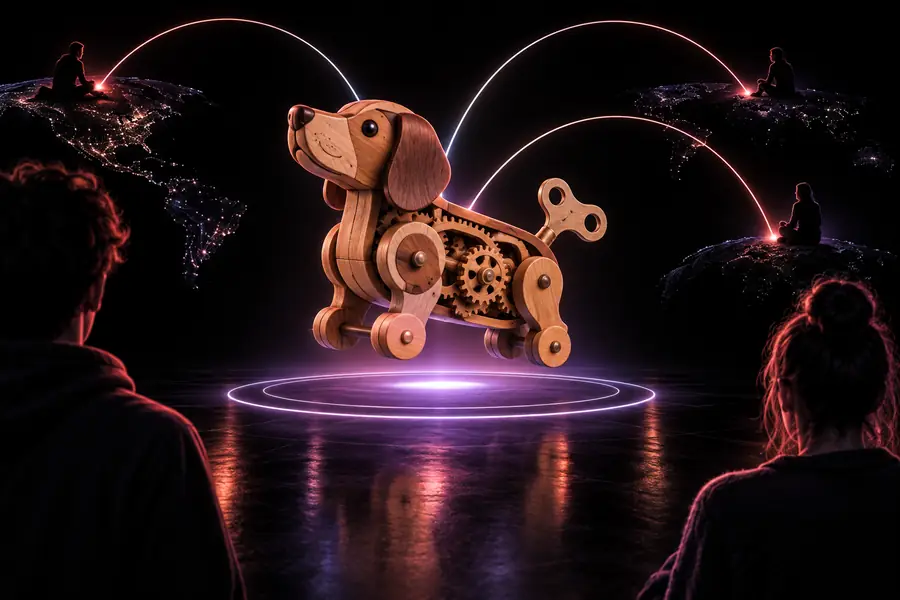
Use the result as a starting point, then check surfaces and proportions before production use.
Reference image3D resultStart with one image
Bring a clear reference and a specific direction to the workspace. You can test the shape quickly, identify what needs refinement, and decide whether the result fits your next step.
Common questions
It is a browser-based workflow that uses an image and optional text guidance to create a 3D representation of the visible subject. The result is best treated as a starting point for concepts, mockups, and further editing.
Yes, a single clear image can provide enough information for an initial model. However, hidden sides and exact dimensions must be estimated, so several views are better when shape accuracy matters.
Use a sharp, well-lit image with the entire subject visible and a relatively uncluttered background. Matte surfaces and a clear silhouette are usually easier to interpret than heavy reflections, transparency, or motion blur.
Not always. Automatic output may need proportion checks, mesh cleanup, retopology, material work, or dimensional verification before animation, manufacturing, or final export.
You can begin the generation process online without setting up specialist desktop software. If the result needs precise editing, rigging, printing, or CAD work, you may still want a separate 3D application afterward.